

What does it take to get drone data for your paddocks? There’s a lot more to using an agricultural drone than just flying around.
Previous articles have outlined how drones can be used and how the data compares to satellite imagery and yield maps. This month we discuss the general process required to get meaningful paddock-scale information using a drone, based on BCG’s experiences over the last year.
The process
BCG uses a SenseFly eBee Ag and a Sequioa multispectral camera to generate NDVI imagery. Although the specific details may vary to some extent from drone to drone, the general drone data collection process consists of 5 main steps:

1. Flight planning
Collecting consistent, high resolution data over a large paddock requires a drone to fly back and forth to take a series of overlapping images. Specialised drones include mission planning software that can quickly generate these kinds of flight plans and feed them into the drone’s autopilot system. In the case of the eBee, it only requires drawing a square around the area that you would like to fly using software that is very similar to Google Earth.
For the best results, the flight plan may also need to take into account factors such as wind direction, and changes in ground elevation. It is also important to consider the legal obligations for drone operators in Australia, which imposes additional requirements depending on where you plan to fly. For example, flying a drone over a paddock within 5.5km of Warracknabeal airport will require special permission.
2. Data collection
This is the fun part – flying the drone!
There are a number of important legal considerations in choosing when and how to fly. In addition, we generally try and fly the drone early in the morning to reduce the risk of attack by large birds. Flying in as gentle conditions as possible is also optimal: more wind means that the drone’s motor has to work harder and uses up the battery faster. If the wind is too strong, then the drone might not be able to fly at all.
The autopilot in the eBee means there is very little piloting involved: after the mission is uploaded wirelessly to the autopilot from a tablet computer, the drone is simply switched on and launched by throwing it into the air. From there, the drone flies, takes photos, and lands all by itself.
Whilst it is possible to intervene there is generally very little reason to. However, when the drone is in the air it’s a legal requirement to have it within your line of sight at all times – and it’s a good idea to keep an eye on it in case something goes wrong.
3. Data processing
A single flight can produce hundreds of individual photographs or snapshots of data, none of which are particularly useful by themselves. Turning these into useful information requires a number of additional processes, depending on the desired output.
One of the most basic operations is the creation of an ‘orthomosaic’ by stitching together multiple individual photos to form one large image of the flight area. This can be done using special software or by uploading to the images to cloud-based services.
Because of the large data uploads required with cloud-based services, BCG uses specialised software called Pix4D that was supplied with the eBee drone. Whilst this has the benefit of not requiring internet to function, it does require a lot of computer processing time and power. A large paddock can take several hours to process, even using a specially built, high-powered processing computer.
Most of the actual basic processing is hands off. Data is downloaded from the sensor and the drone using a USB cable, and imported into the processing software. After selecting the relevant processing options or choosing a preset template, the computer does the rest.
4. Analysis and transformation
The initial processing provides basic imagery which then needs to be analysed or transformed to start to get practical value out of it.
The same software provided with the eBee drone has a number of analysis and transformation options. One of the basic ways of transformation is adjusting the NDVI colour scale to highlight differences between areas of the paddock. It can also generate various alternative indices in addition to NDVI, and create shapefiles for VRT applications.
Imagery can also be imported into many farm management software suites to use the analysis tools that they provide.
However, to get the most out of drone imagery, BCG uses Geographic Information System (GIS) software. For example, most of the data used to analyse BCG’s 2016 Precision Agriculture trials was extracted using GIS. Although these programs have a steeper learning curve, they provide the most flexible and powerful image analysis tools available at this stage in time.
5. Ground truthing
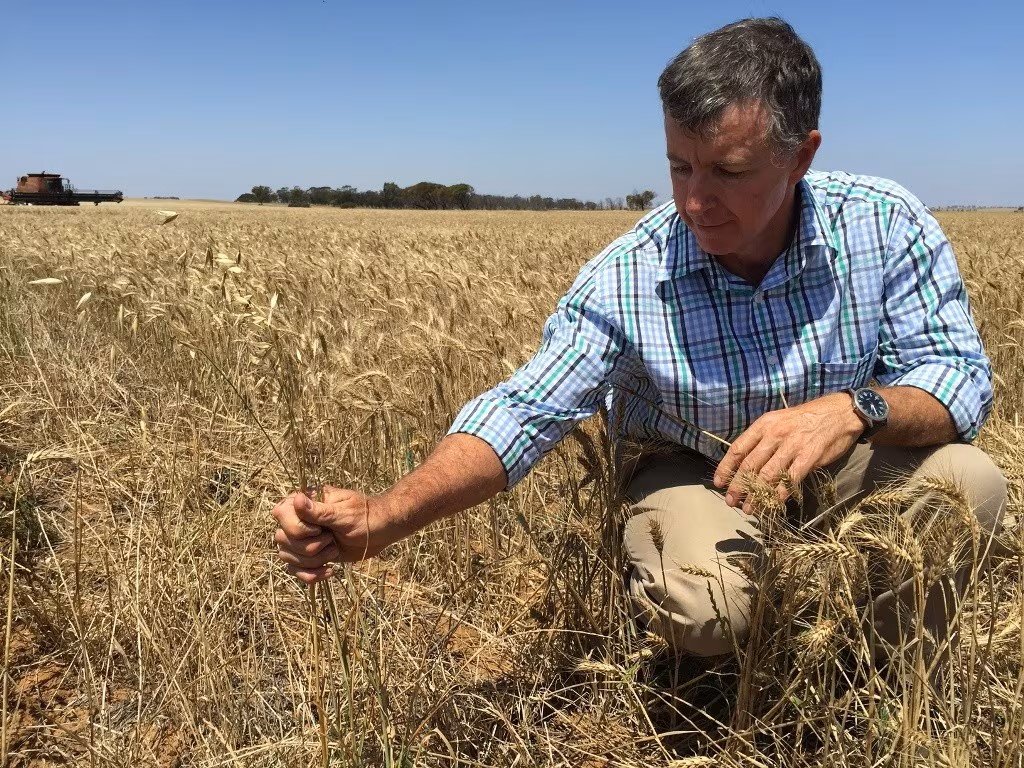
Before making any decisions, it’s important to ground-truth the things that you observe in drone imagery. NDVI, for example, does not differentiate between a vigorous crop and a vigorous patch of weeds. It’s also important to keep in mind the technical limitations of things like NDVI, some of which were covered in previous articles.
Getting useful information from a drone requires a lot more than just flying. In fact, flying might even be the easiest part. However, as technology continues to advance, it’s likely that the process will become faster and easier. Nevertheless, even if you rely on a contractor to do the actual flying and processing, getting real value out of drone imagery depends on having at least a basic understanding of what it can and can’t show.